
I pack my backpack and take with me
- Beni Jankowski
- Aug 16, 2022
- 1 min read

What I take with me to take pictures during my hikes in the Wilder Kaiser region.

You have a hike in mind where you want to shoot a lot with your camera? But you do not want to march too heavily packed into the mountains and still be well equipped? Well then I recommend you to read through this post. Don't worry, on the one hand this is not expensive equipment and on the other hand it's not a sponsored post. Here I only show what works for me. In addition, the season must also be distinguished.

Table of Contents: Click here on the chapters that interest you
1. What do I value in my equipment?
For me, when hiking in the mountains with my photo equipment, three points are especially important:
Compactness
Lightness and utility
Safety
I would like to place particular emphasis on these three points, as combined they produce the best fun/benefit effect.
Compactness of the photo equipment - everything has its place
For me it is important that I am not restricted in my movement and weight. So I walk according to the motto: As little as possible - as much as necessary But that's up to you to decide, because every photographer has different priorities. For me, however, it is important that everything I pack has its place and I know exactly where I can find the respective part.
A photo hike should be fun, and you can only do that if you don't feel like you're marching off with a backpack filled with rocks. Always consider whether you really need the respective piece on the hike. Example: If you're going on a three-hour hike, you don't need to pack for a six-hour hike. I know we are often very picky and make our meal dependent on our mood. However, our mood also automatically worsens when we feel like a mule lugging hundreds of pounds up a mountain.
Where I don't cut corners, however, is on safety equipment, as you'll read in the next section.
Safety - You never know what to expect
To make my fun on a hiking tour complete, I always take enough safety and also survival equipment with me. Here I also have a motto:
Better to have and not need than to need and not have!
Even if most hikes are harmless and you go through the hike without any problems, it only takes one time to go wrong and then you have the salad. From permanent damage to loss of life, anything can happen in the mountains. There have been several moments when I have had to treat other hikers who had no equipment with them, but not myself.
In addition, I have basic survival gear with me such as a knife, lighter or paper. The next village or the next hut can often not be far away. But if you are wounded or can't get off the mountain and the weather conditions are too bad for a rescue, you are much safer that way. But more about this in the chapter "Safety equipment".
2. Photo equipment - what I take with me for photography
The equipment for photography is basically limited with me but it more than serves its purpose. I usually have the following:
- Camera with lens and spare battery
- tripod
- Filters (2 pieces)
As you can see...it's not much but now everything a little more detailed.
My camera - Nikon D610 with 28-300 mm Nikon telephoto lens.
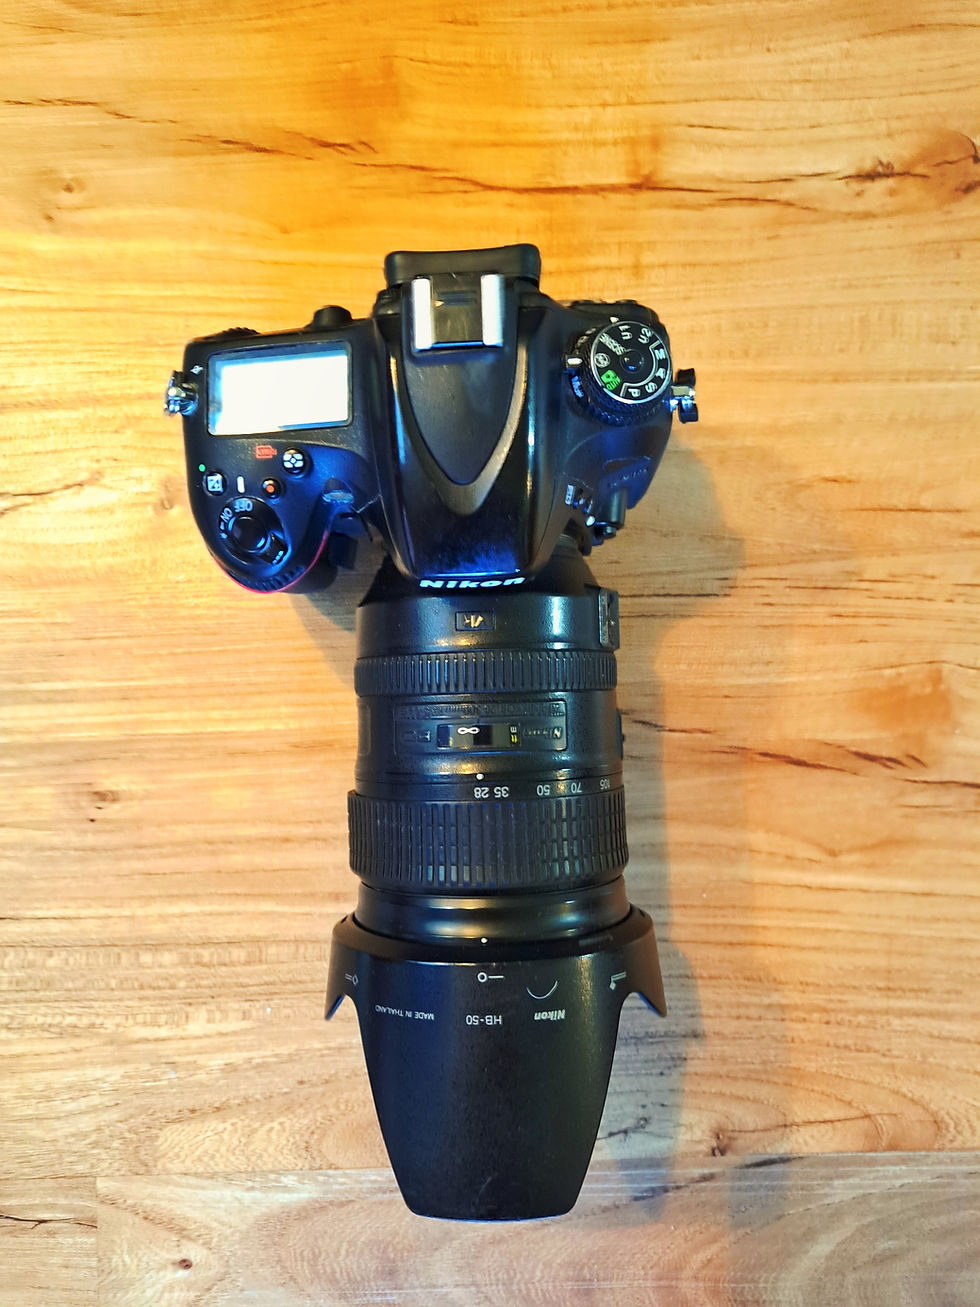
Two years ago, my father gave me his Nikon D610 including the telephoto lens. It became too heavy for him and of course I didn't say no to this offer!
It is a top camera for my use. It is not light but it is very good for landscape photography and also limited for wildlife photography. The settings are good, but the speed is too slow in continuous photography to always get just the right moment. On the whole, though, it's a very good camera.
As for the telephoto lens, I have to say that you can cover a lot of ground with 28-300mm. For wildlife photography, however, it's too little, which is why I might buy a 600 mm telephoto lens at some point. I'm overjoyed with my current lens, though.
Also always with me is a spare battery. Usually one lasts loosely for the hike, however, you never know if something just doesn't work. So it is simply there for safety.
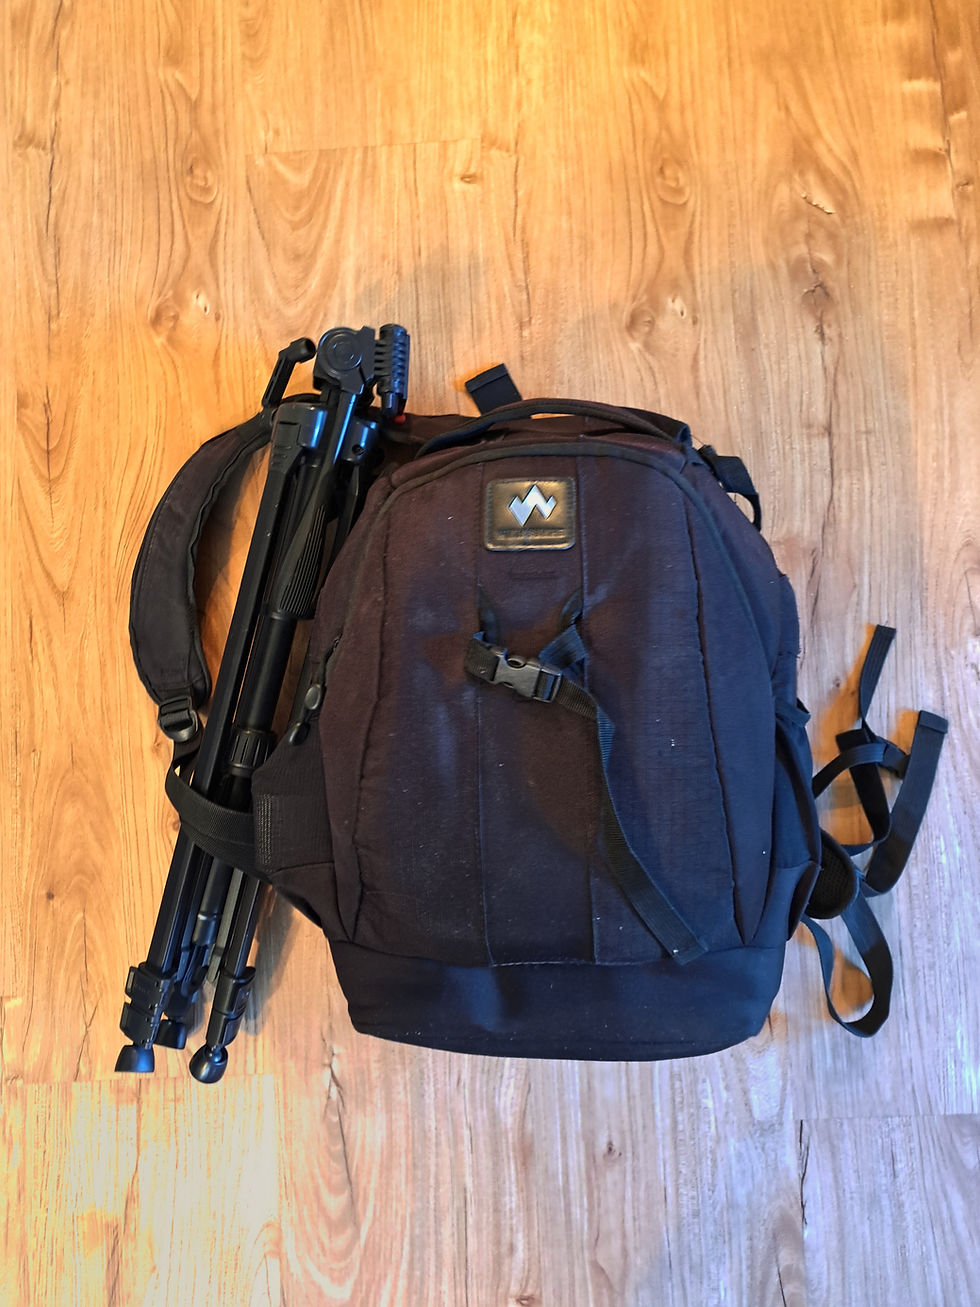
Tripod - For stability

I only need my tripod very rarely. Therefore, it is even more important that my tripod is as light as possible. So I bought the Gamma 153 3D Tripod from Hama for under 30 euros.
It is light and even if it is not the best tripod in terms of quality, it still serves its purpose. However, caution is advised with heavier cameras like mine, because in portrait format the mount wears out relatively quickly and holding still is no longer possible. The tripod itself I wear mounted on the handle with one leg attached in the carrier.
Filters - For a different effect

I almost always have my adjustable ND filter and my CP filter with me. The ND filter for long exposure cost 35 euros and serves its purpose when I want to photograph streams or waterfalls. There are many of these at the Wilder Kaiser.
The Circular Polar Filter cost me 85 euros and is great when you want to photograph mountain lakes so that the blue stands out even more. You can never go wrong with CP filters at Astbergsee or Hintersteiner See.
The good thing is that these two filters take up very little space and can be easily stowed away.
can be.
3. My food and clothing - calculation by preparation
Small bars with a big effect

You don't want to be hungry on the mountain. I especially not, which can become quite moody and impatient when hungry. That is for photographing, one and all fellow hikers then always dangerous (ask my girlfriend or parents).
But I do not want to invest too much space for it. My solution for this are the CLIF bars, which can be bought in supermarkets. They contain a lot of fiber and saturate long before you get to a mountain hut. So I always have 1-3 bars with me. They are small but enormously effective.
Temperature maintaining drinking bottle

Smart water bottles are extremely practical. While in winter the thermos is with me, I always have this cold-holding bottle with me. They are a bit heavier than normal PET bottles, but keep the drink cold throughout the hike.
When you're really craving refreshment, you can count on the bottle even after several hours.
Alternatively, you can also buy a bottle that you can hang outside the backpack.
Clothing and spare clothes - Always shoot in dry conditions
The Wilder Kaiser and its surroundings can get very cold and windy. In addition, the terrain is steep, slippery and also dangerous in some areas. Depending on the route, I therefore put on the army shoes (Swiss army combat boots) for more difficult terrain and my Salewa tracking shoes for normal hikes in the summer. In winter, however, it is always the army shoes in the mountains. Pants I wear in the summer mostly shorts and additionally take a pair of training pants. In winter, on the other hand, it's navy pants, because they are water-repellent and regulate the temperature well. As I said, everything has to be packed according to the weather.

But what I always have with me are spare shirts and a windbreaker. Even when it is slightly cloudy, it is there because you never know how quickly the weather changes at the Wilder Kaiser.
I am very sensitive on the back and therefore always have to keep it dry. From time to time, a light kidney belt is also with me to be completely safe.
However, I am also aware that I do not have the most professional equipment but here it also shows that it does not always have to be the most expensive.
4. Safety equipment - For harmless or more extreme cases
As I mentioned at the beginning, safety is very important to me. I am not only referring to first aid, but also to survival-based things. The reason for this is that something can happen quickly in the mountains. So I want to be prepared for minor to moderate injuries as well as for an unexpected night in the mountains. But you don't need much for that. So a big emergency kit is not really necessary.

Something that should always be there or already applied is sunscreen. Even in cloudy weather, you can get burned and you also rarely know if the sky does not yet tear open and the sun comes through.
What I always have with me is bandages, disinfectant, normal and blister plasters. So you can stabilize minor injuries up to a fracture well and ward off first dangers well. Also, it is annoying when you have to stop a hike due to minor blisters or abrasions.
Also, I always take my rescue blanket with me, so that in case of an impending hypothermia one can be quickly warmed up himself or another person. It is also well suited as a shelter aid for an overnight stay in case of need.
Survivalgear - When there is no other way
My survivalgear is also not big but efficient. I always have my Swiss Army knife, a lighter and paper with me, so that you can build a shelter and start a fire to keep warm in case of an extreme emergency. Also, the paper is good to use for notes, so you can quickly record certain impressions.
IMPORTANT: Even if you have first aid supplies and survival gear with you, it doesn't mean you are that safe. You have to be familiar with it and maybe even test it out beforehand, so that you can act quickly as well as correctly in an emergency. In addition, I regularly look at new survival tricks and expand my skills. Because you never know when you'll need it.
5. Summary and conclusion
So, that was an overview regarding my equipment. It was definitely not short but I wanted to show that you can make good photo hikes in the Wilder Kaiser region with little gear and also not too much financial effort.
The Wilder Kaiser has so much to offer in terms of motifs and experiences. With the appropriate equipment, you can take countless tours and photo hikes and shoot beautiful photos.
My request to you is also not to neglect the safety aspect, as no photo in the world is worth risking your own safety.
With these words, I wish you picture-perfect hikes and much success in your quest for your next dream photo at the Wilder Kaiser.
Comments